
When it comes to basic web development (we're talking just static HTML, CSS and JS), there are three main ingredients:
- Domain
- Hosting
- Static files (HTML, CSS, JS, images, etc)
I've built dozens of business sites on Google cloud (using App Engine), with virtually free hosting. These sites are usually 1-3 pages: an about section, some images and a contact page.
I usually get HTML templates from Themeforest (either clients find their theme, or I send over some options for approval), and convert it to a suitable format for the App Engine app in this guide. The themes range from $40-70 and I'll add $200-500 for my services depending on how complex of a site the client wants. One other thing to note is that I never begin development until the client has finalised all the copy and images (we share a Google doc).
Now assuming you have a domain and some static files to publish, this guide will show you how to set up Google cloud to get free* hosting.
* You just need to make sure you stick to the following restrictions:
- Total files hosted are less than 1Gb
- You don't serve more than 1Gb of bandwidth
If you exceed this, the cost is pretty cheap so I wouldn't worry.
Step 1: sign up to Google cloud
This is the easy part. Just go to http://cloud.google.com and click on the “Go to console” button. Once there, create a new project, name it whatever you like and that's it. You may be asked to set up billing, this is fine and you shouldn't be charged.
If you're still nervous, you can set up caps so the transactions never exceed a certain amount and you'll never get any surprises.
Step 2: build your App Engine app
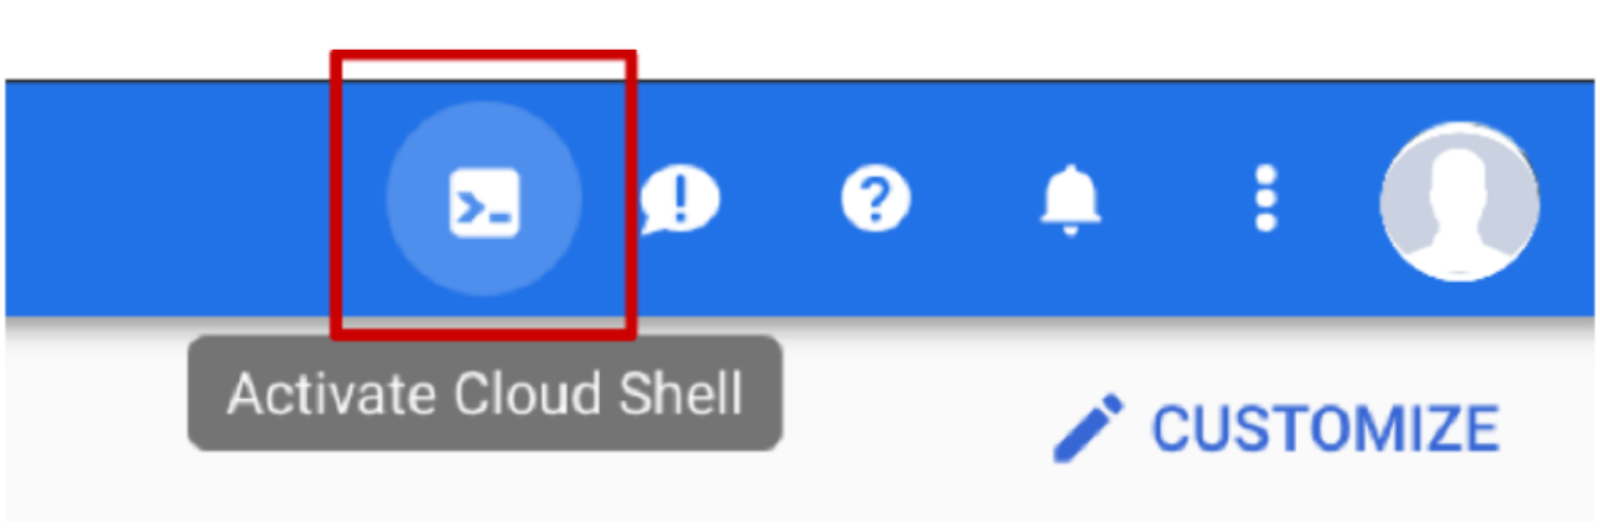
The app I've built is python based, and uses the Flask framework and Jinja template engine. First things first, open the Cloud Shell. It’s a button in the top navigation bar:
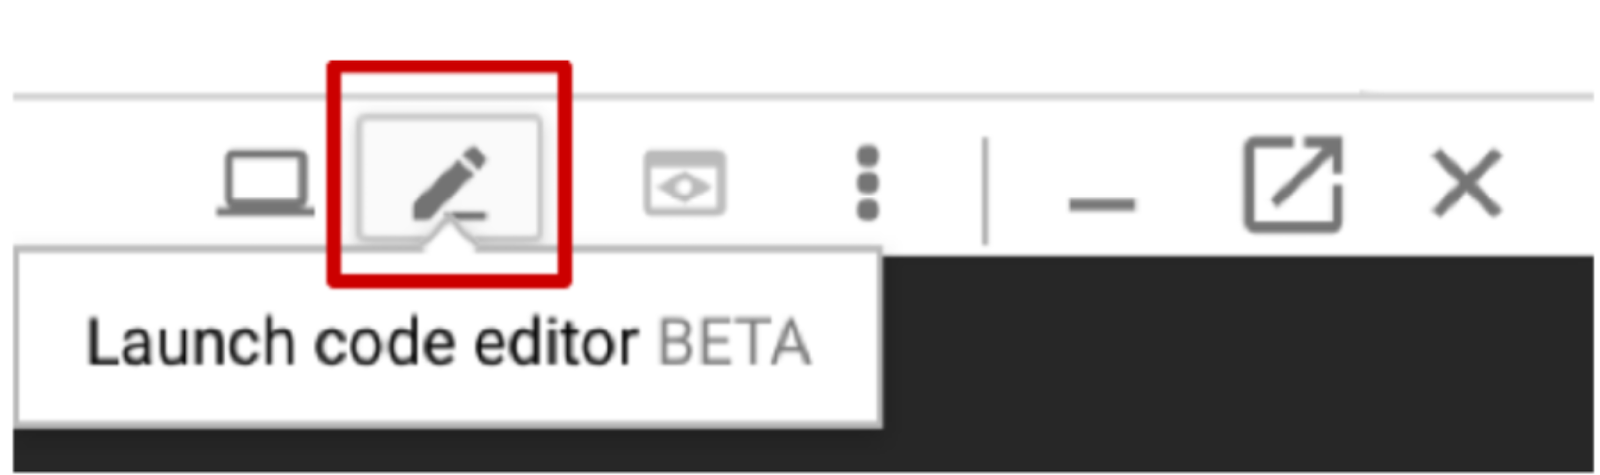
In the window that pops up, hit the pencil button to open the code editor:
Next, in the sidebar, right-click to create a new folder. You can call this anything you like. Then navigate into that folder in the terminal (cd folder-name).
Now you’re ready to upload the sample files to the folder. The files are essentially:
app.yaml - this is the App Engine app's settings, a lot if into goes in here, but mostly how URLs map to python files
runtime: python27
api_version: 1
threadsafe: true

handlers:
- url: /
  script: app.app

- url: /
  static_dir: htdocs
  secure: always
  application_readable: true

libraries:
- name: flask
  version: "latest"
app.py - this is the file that powers the site
# -*- coding: utf-8 -*-
from flask import Flask, render_template
app = Flask(__name__, template_folder='htdocs')

@app.route("/")
def root():
    return render_template('index.html')

if __name__ == '__main__':
    app.run(debug=True)
htdocs/ - your public folder, and can essentially be treated like an ftp folder. Just create this folder inside the one you made earlier.
Step 3: add your static files
You should already have your static files, your HTML, CSS, JS etc. Upload them to the “htdocs” folder. Make sure your root file is called “index.html”. If for some reason you don’t want this, you’ll need to update the app.py file to reflect the change you’d like.
Step 4: preview
In the terminal, make sure you're in your newly created folder (cd folder-name), then run the following command:
dev_appserver.py app.yaml
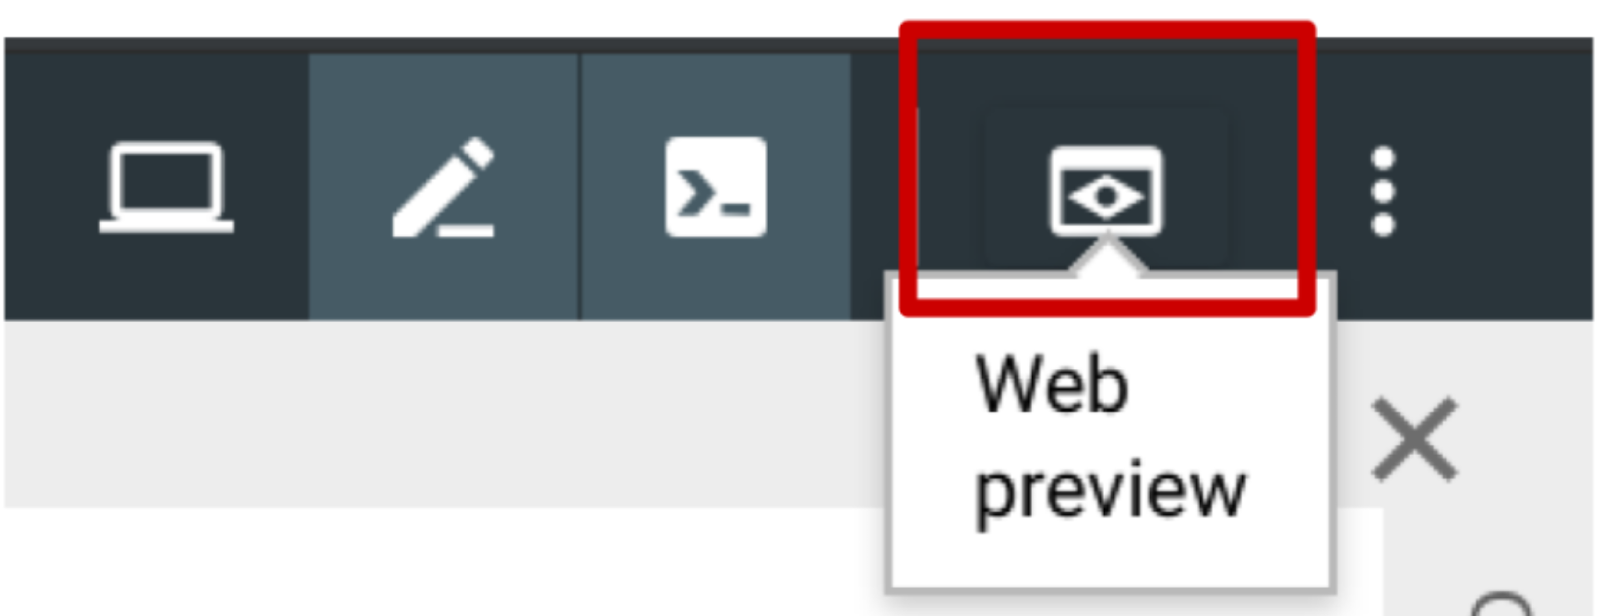
In the top right, you'll have an option to do a web preview. Click that and you should see your site (select the first option - preview on port 8080).
Step 5: deploy your app
When everything looks good, you're ready to deploy your app. In the terminal, make sure the user is the correct project you want to deploy to:
Assuming you’re still inside your project folder, run this command:
gcloud app deploy app.yaml
If this is your first time, you may need to configure some additional things, just follow through the steps in the terminal and you should be fine.
If you had set the project name to “project-cloud” in step 1, then your site will be published on https://project-cloud.appspot.com, you can look it up once the deployment is done. Running the following command will also give you the link:
gcloud app browse
The public link on appspot.com will be printed in the terminal.
Step 6: map on a custom domain
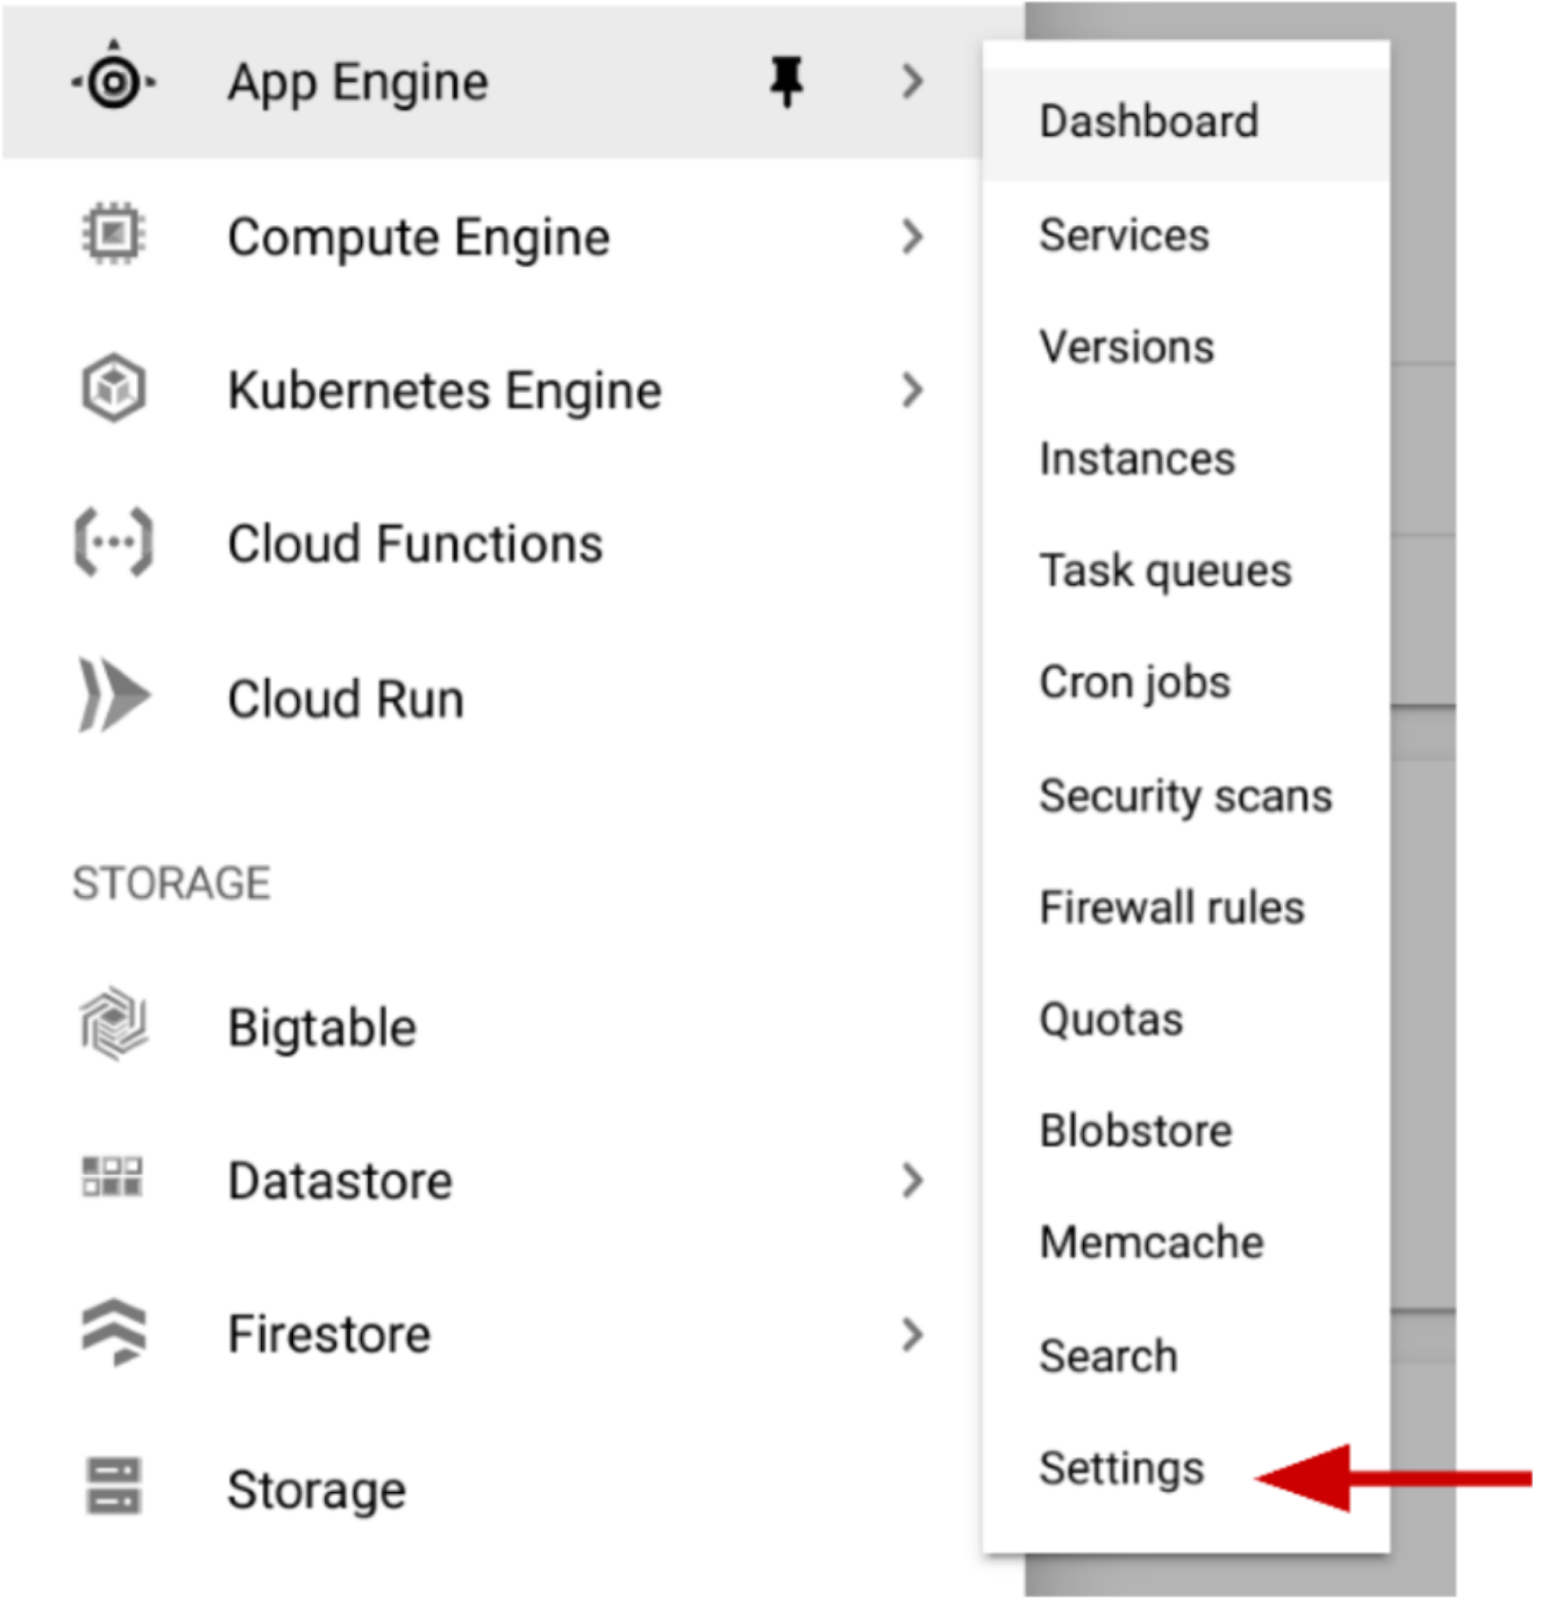
Now you’re ready to map on a custom domain to the App Engine app. Go back to the console, and in the sidebar menu select App Engine > settings.
There's a custom domain sub menu, click into it. Click “Add a custom domain” and follow the wizard, the high level steps should be:
- Click to “Add a custom domain”
- Select “Verify a new domain...” and enter it in the input box below it
- You'll be sent to the webmaster console and be asked how you'd like to verify ownership
- Once verified, the new domain will appear in the list in the domain list in the Google cloud console
- Select it and proceed, you'll be shown the DNS settings you should set up with your registrar
- Remember to also enabled Auto renewal of the SSL certificate (this is free). If you don't do this, you'll need to change your app.yaml file to not enforce this
Once done, you'll have a site with a valid (and auto renewed) SSL certificate running on Google cloud infrastructure meaning it'll be lightning fast and distributed globally on Google's network. Enjoy!